

Many of you already know that I'm publishing a book, Quiet Book Patterns. You can find it on sale right now through amazon.com. If you were thinking about buying a copy now is a great time. Right now it's on sale for only $8.99! That's the lowest price I've seen it for so far. Makes a great gift for your crafty sister, friend, grandma, or mother-in-law! The holidays will be here before you know it.
.................................................................................................................................
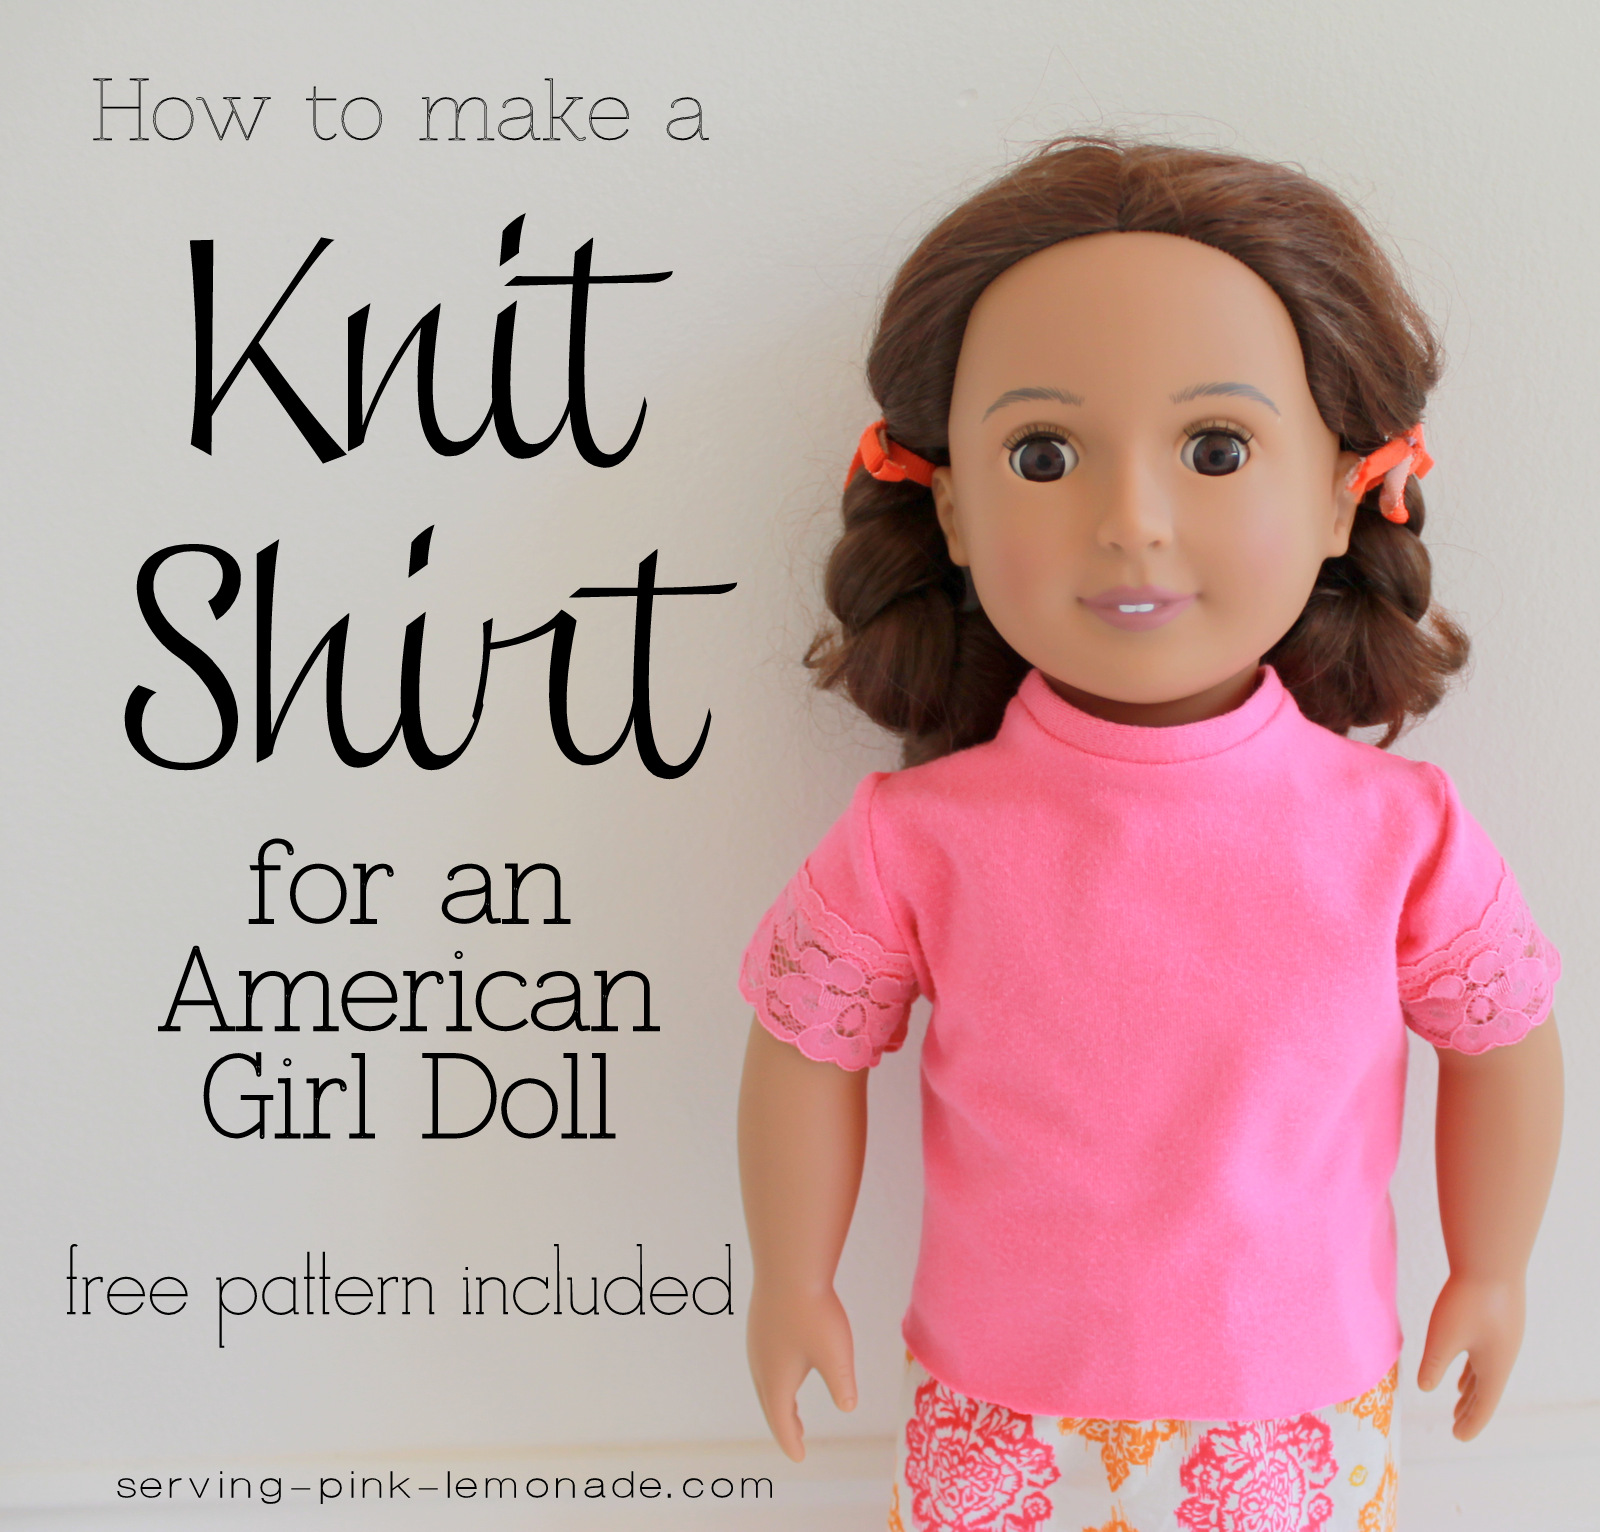
My daughter got a big girl doll for her birthday this year. She really wanted one that looked like her. Do you know how hard it is to find a brown haired, brown eyed doll (in my price range)? This was the only one I could find--and thank goodness for it!
I made my daughter some new skirts this summer and since I had leftover fabric I decided to make her doll some skirts that matched. But then the doll didn't have any shirts to got with the skirts! My daughter asked if I would make her doll some shirts too. I thought it would be hard (with those tiny little sleeves and all) but it turned out to be really easy. I even made the shirts from some old holey leggings I found in my daughters drawer which made this project free. Perfect!

Want to make your own? Follow the instructions below and be sure to scroll down to the bottom for your free pattern.
Cut out two of the bodice pieces on the fold. Cut out two sleeves on the fold. I used the lace at the bottom of the leggings for my sleeve to add an extra touch. I placed my pattern slightly below the bottom of the leggings since I wouldn't need to hem the sleeve.

Now you have four pieces like this. Cut up the center of one of the bodice pieces so it is in half.

Pin the bodice pieces together at the shoulder. Sew a seam at 1/4 inch.

Hem the bottom edge of the sleeves (I didn't have to in this case because of the lace edging). Now carefully pin the sleeve to the arm hole in the bodice, right sides together. It may seem tricky since you're trying to match concave and convex shapes but they really will fit together pretty easily if you're using knit fabric. If you're using a woven fabric then you'll need to add a basting stitch to the sleeve and ease it in.

Now the sleeve is all pinned in. Using a lot of pins is helpful in keeping everything where it needs to be. Sew along the curved edge at 1/4". It easier to sew it with the sleeve side down and the bodice up. Trust me . . .

Now your sleeves are in. The hard part is finished and you're almost done.


Fold the shirt so that right sides are together. Pin up the side of the shirt all the way into the bottom opening of the sleeve. Sew a 1/4 inch seem from the bottom of the shirt up through the end of the sleeve. Turn right side out.


Now add the neck line. I make the necks on my shirt high because I don't like the fabric body of the doll showing. Cut a half inch strip of fabric on the fold the length of your neckline. Pin to bodice, matching raw edges and sew a 1/4 inch seem.

Try the shirt on the doll to determine where you need to place velcro in the back for a closure. Sew the velcro on. I left the bottom edge of my shirt unfinished. The nice thing about using knit fabric is that you don't have to worry about it unraveling or the edges fraying. I made a second shirt, also out of old leggings, and used the ruffle edge on the bottom of the leggings for the bottom of the shirt.

My daughter loves matching her doll in their custom made* clothes.

*I had a professor in college that told us to never say the clothes we made were homemade. Kind of gives off a frumpy image, doesn't it? She suggested we use the phrase custom made instead. Sounds so much fancier--and they are custom after all!
Now my daughter wants me to make a closet for all her doll clothes to hang in. She had some pretty good ideas on how to build it too. I think that will be a project we'll have to start working on soon.

As promised you'll find the shirt pattern below.
(To print template: Click on picture and then copy and save to your computer. Open in a document and reduce your margins to zero. Expand to 100% and print.)

Have fun sewing!


Such a cute top!! And I'm loving how the lace edging got reused! I've linked to your pattern over at Craft Gossip:
ReplyDeletehttp://sewing.craftgossip.com/free-pattern-short-sleeved-t-shirt-for-an-18-doll/2013/08/19/
--Anne
Super cute! I love repurposing clothes in crafts and for the American Girl doll. I did something like this but never thought to make a pattern out of it! PINNED!
ReplyDeleteI love this! I really want to make some clothes for my girl's dolls as a Christmas present. Need to get busy! This tutorial looks great!
ReplyDeleteGina @ Gina's Craft Corner
Awesome!!! I need to make a bunch of these to match all the skirts I made for my daughter's doll. Skirts are so muc easier to make, but this top looks totally doable. Thank you so much!! And I am with you -- using existing hems when upcycling clothes is the best!!!!!!!!
ReplyDeleteDarn it -- I hate when I see a mistake I made in a previous comment! Should have read "much" instead of "muc", of course. :)
ReplyDeleteVery cute! I love it when a doll's clothes match the girls-it's just fun:@)
ReplyDeleteChristmas presents for our American Girl Julie. This is a great share. Thanks for bringing to my party this week!
ReplyDeleteCute pattern! PS...Ana White is your friend for building that closet! ;)
ReplyDeleteYes, I love Ana White!
Deletefabulous tutorial! thanks so much for sharing on craft schooling Sunday, great to see you!
ReplyDeleteThank you very much for this. I recently rescued an 18" doll from a thrift store. I've cleaned her all up and restored her hair and need clothing for her. This will be perfect! Then I'll just wait for a little girl to show up who would love to have a doll and doesn't mind that she isn't brand new.
ReplyDeleteI can not get the pattern to print out properly. Could you put a 1" square on the page? It only prints half of the sleeve and the top third of the bodice.
ReplyDeletePlease click on the image to enlarge. Then right click, copy, and paste into a word document with 0" margins.
Delete